
Reverse-Sear Steak Guide
Gentle heat first, hard sear last—especially useful for thick steaks.
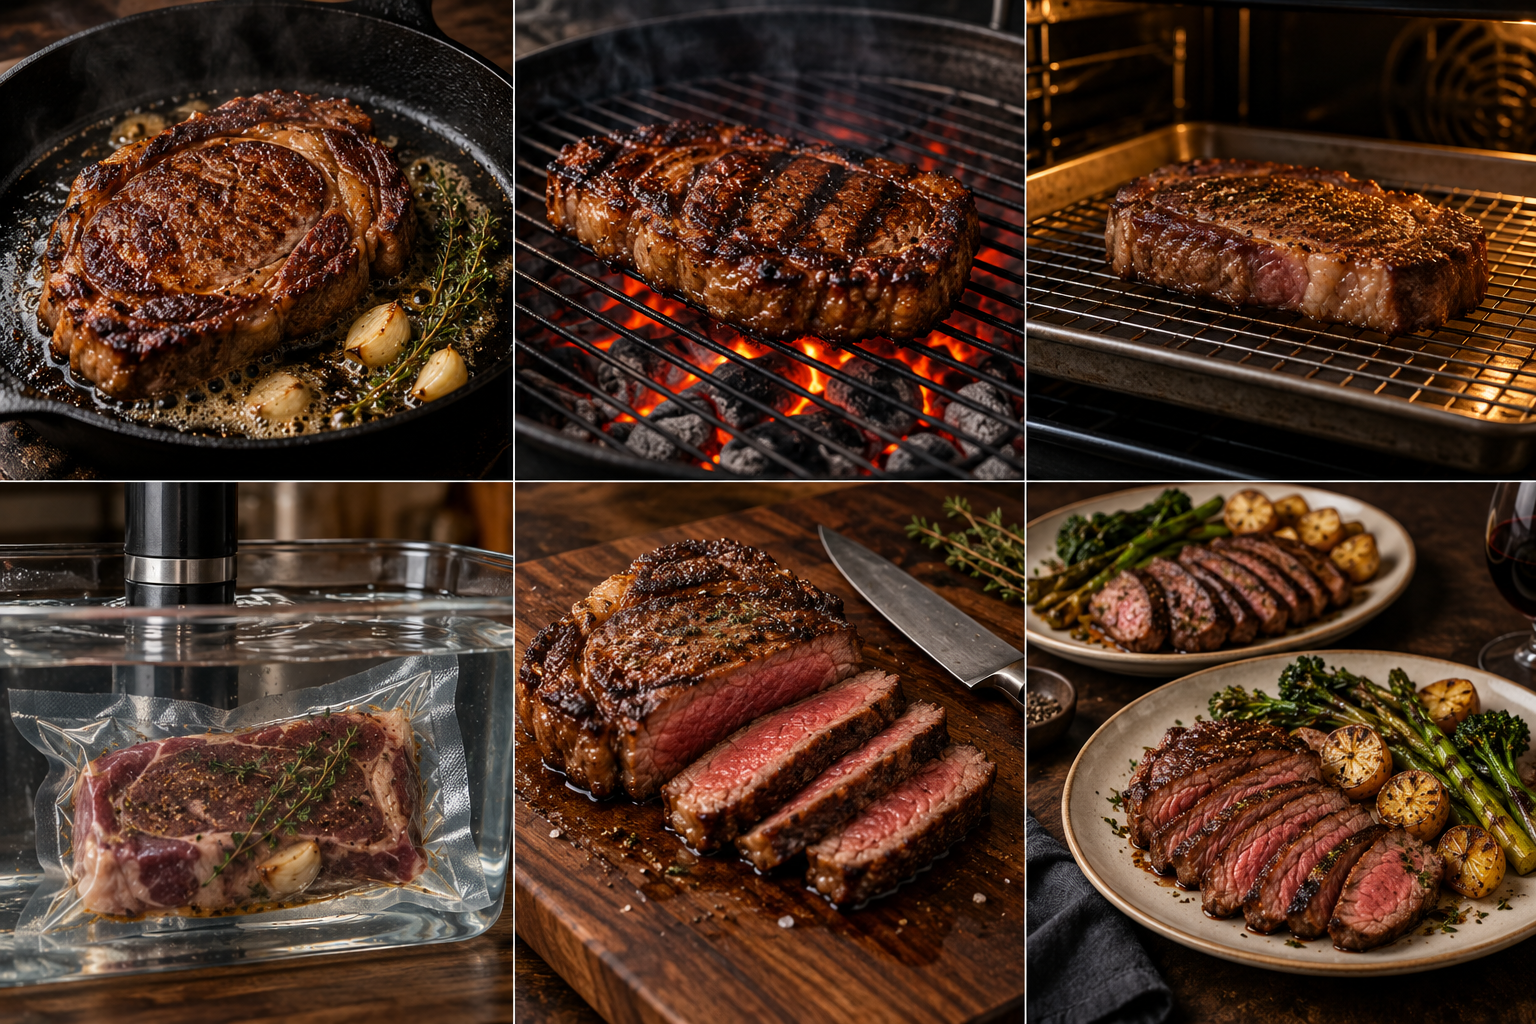
Before you start
Reverse searing divides the job into two stages: gentle cooking for the center, followed by a short, hot finish for the crust. It is most useful for thick steaks. It is less helpful for a thin steak that can already cook through during the finishing sear.
Step-by-step method
- Choose the right thickness. Start with an evenly thick steak, roughly 1½–2 inches or more. Ribeye, strip and a substantial filet are suitable examples. A skinny skirt steak is better handled with a fast direct-heat method.
- Dry, season and arrange. Pat the steak dry, season, and place it on a rack over a rimmed tray. The rack allows air to circulate rather than leaving the underside in its juices. Keep raw steak refrigerated until you are ready to cook.
- Use gentle heat. An oven setting around 225–250°F is a practical starting point. Oven performance varies; treat this as a setup choice, not a promise of a specific cooking time. A leave-in probe can help you observe the center without repeated opening.
- Prepare the final sear. As the center approaches your chosen endpoint, preheat the skillet or grill so the steak will not wait while equipment heats. The final sear adds more heat, so watch the remaining temperature margin. Follow the food-safety guidance rather than relying on a lower pull temperature as proof of safety.
- Sear briefly and attentively. Move the steak to the hot cooking surface and brown the broad sides, turning as necessary. Render an outside fat edge carefully if needed. This stage is for the crust, not another long period of cooking. Recheck the center when the surface is ready.
- Confirm the result. Record both the pre-sear and final temperatures so you can refine the method. Follow the applicable resting guidance and carve across the grain. A slow-cooked center does not excuse ignoring safe handling or the required final temperature.
Choose a cut that suits the method
For a dinner party, the slow phase can make timing more manageable, but the sear still needs attention and enough pan or grill capacity. Do not overcrowd several steaks into one skillet. Finish in batches and check each steak rather than assuming the first reading applies to all of them.
Troubleshooting
| Problem | Likely cause | What to change |
|---|---|---|
| Center overshoots after searing | Too little temperature margin before the finish | Use a shorter sear or gentler finish and keep better notes. |
| Crust remains pale | Searing equipment not ready or steak surface damp | Preheat deliberately and dry the surface. |
| Steak feels dry | Overall endpoint too high or thin steak used | Choose an appropriate thickness and monitor the center. |
| Long, unpredictable oven stage | Different thickness or oven performance | Use temperature checks instead of a fixed timer. |
Make the method repeatable
Reverse sear is not automatically superior to a direct pan cook. If dinner is a thin flank or two modest sirloin steaks, a quicker method may be simpler. Choose it when thickness creates a real problem to solve: getting an even center while keeping the exterior from overcooking.